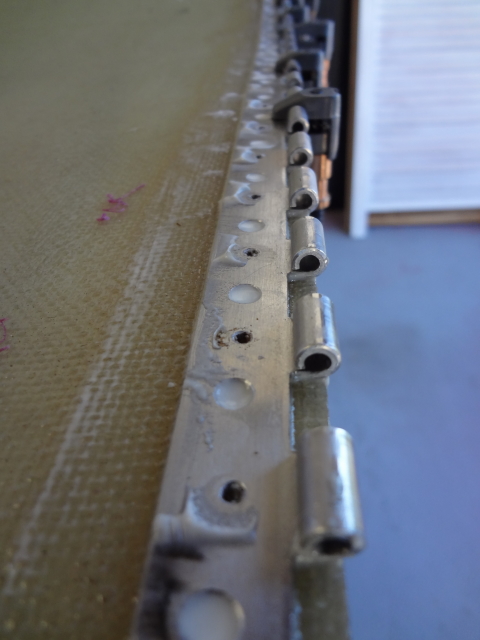
All the hinge segments previously drilled and attached with clecos to the cowl now needs to be cleaned up and permanently attached to the cowls.
The first step is marking all the hinges so I know where they go when putting them back on. The plans suggest that the hinges should be epoxied as well as riveted on as rivets in fibreglass tend to vibrate loose over time. So in order for it to get better adhesion to the cowl separate holes need to be drilled between all the rivet holes for the epoxy to seep into. This is a fairly time-consuming job as all holes need to be debured and the back-end needs to be sanded rough for a better surface grab.
I got out the fibreglass supplies and got ready to mix up a batch of epoxy with a tiny bit of microbaloons to give it some strength.
I did one hinge at a time, I did not want to rush this as any overflow of epoxy in the hinge eyelets could make my life very hard later on. I used cleco clamps whilst the epoxy was kicking in, I did not want to rivet them at this stage as I have read riveting could distort the hinge , the way to avoid it is to wait till the epoxy has dried and then rivet so this was my approach. Just remember to remove the cleco clamps before the epoxy has totally set….but not too early 🙂
The next morning I removed all the clamps, and redrilled all the holes to clean out the epoxy from the rivet holes. I’m pretty pleased I spent the time wiping off all the overflow of epoxy from the hinge eyes as i cant imagine having to sand every gap.
Every rivet hole needed to be countersunk so the rivet will sit flush with the outside of the cowling. I used my countersunk cage tool in the battery drill, your able to adjust it and get the same depth on every hole.
I then used the squeezer to squeeze all the rivets.
Once all the rivets were set the cowling went back on to see what it turned out like. The hinges come with aluminium pins, vans get you to replace them with stainless steel pins as they are much stronger and better lasting, but they are also slightly smaller in diameter, this causes my perfect gap to go slightly bigger, it’s not a massive amount but it is noticable…to me.
The side hinges pins get removed through an opening at the front of the cowling, I have not decided on what sort of cover I will use here so I left them overlenght for now.
But it will probably be something like this


Leave a comment