I have got almost 5 hours completed and as expected there are always a couple of little issues that needs to be resolved, that is what phase 1 is all about.
Bottom Cowl paint + heatshield
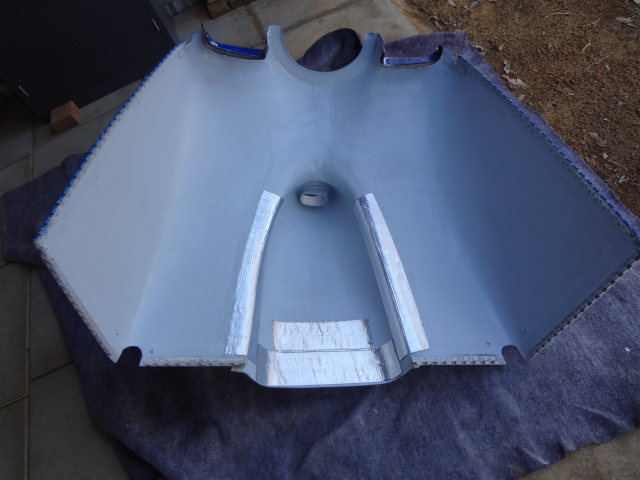
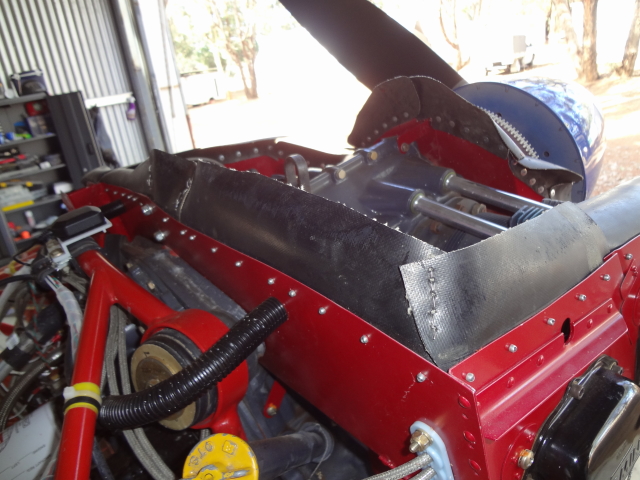
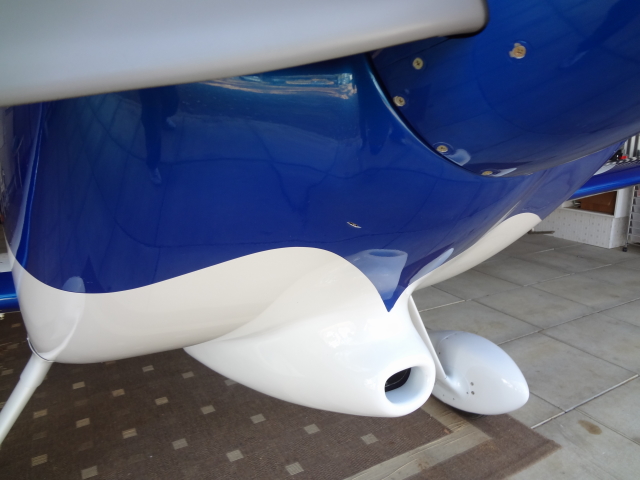
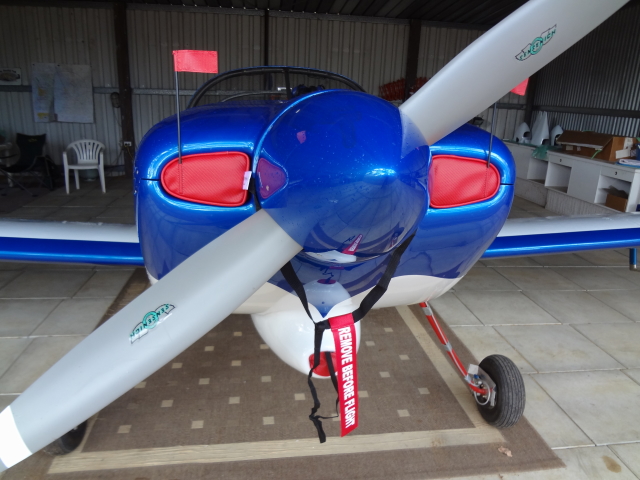
I decided to clean up the bottom cowling with acetone and then paint it a nice bright/light color (I had lots of light grey left over) This will make seeing any oil drips (as lycoming’s are oil drip machines 🙂 ) very easy and also easy to clean, I cant imagine cleaning fiberglass covered in oil.
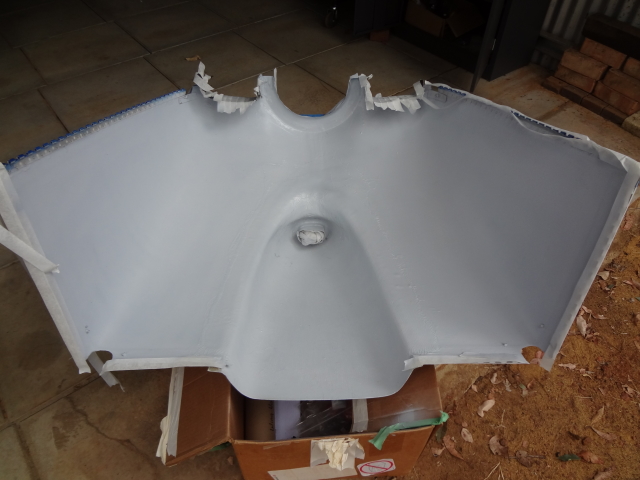
The exhaust runs very close to some areas of the cowling, it is recommended to install some sort of heat insulation on those areas.
Engine baffle seals
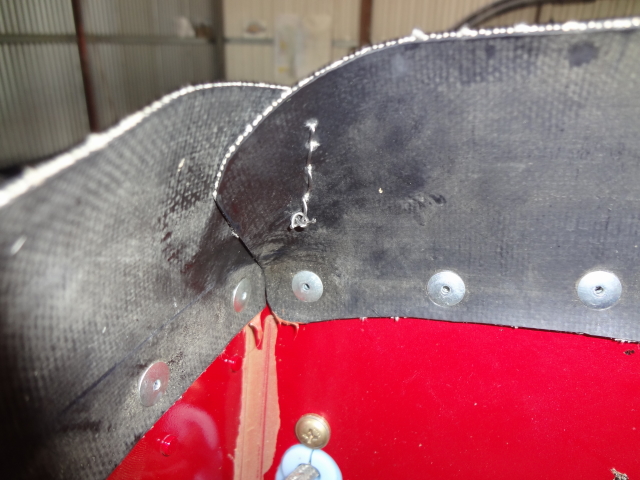
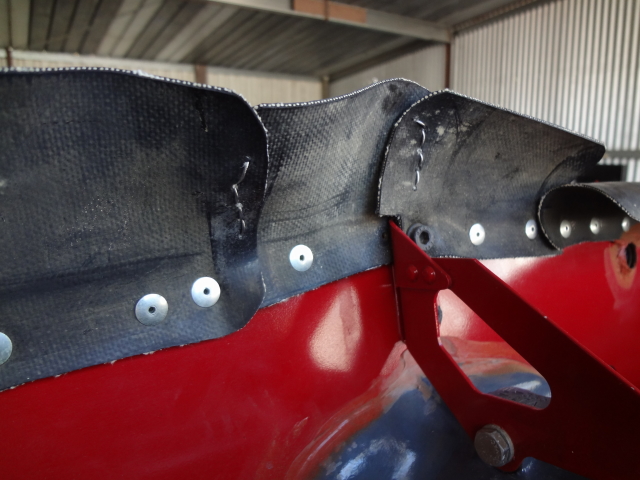
During the first couple of flight I noticed my cylinder head temps getting hotter that what I would like to see. After a closer investigation I noticed the engine baffle that acts like a seal against the top cowl keeps blowing out causing air to leak out rather than going through the cooling fins of the engine. I decided to stitch them together in those areas causing the blowout and straight away my temp issues were resolved, after landing I could see through the oil door that the seals are still sitting nicely against the top cowl.
Prop RPM
During my first flight which was done without wheel, leg and intersection fairing I noticed I was only getting 2350RPM max out of my engine at full throttle cruise configuration. Many people advised me that my prop is well over pitched for the engine and I need to change it. Although Vans recommended this exact prop and engine combo to work 100% on their factory aircraft. I was convinced that the extra RPM will come once I reduce the drag and install the fairings.
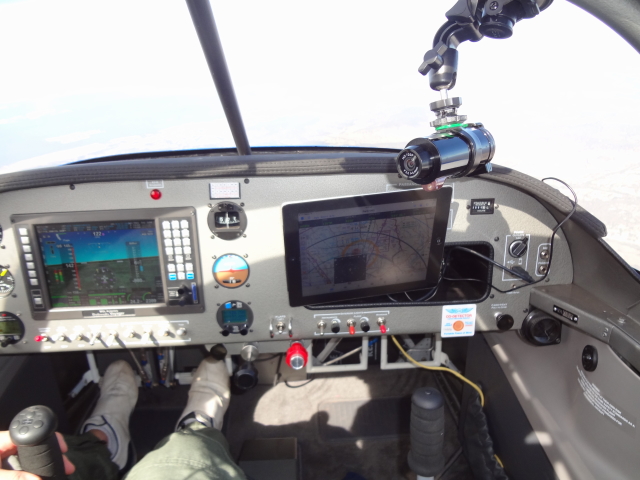
First thing was to double check with a outside rpm meter to see if my instruments are accurate. I was very surprised at how accurate they were.
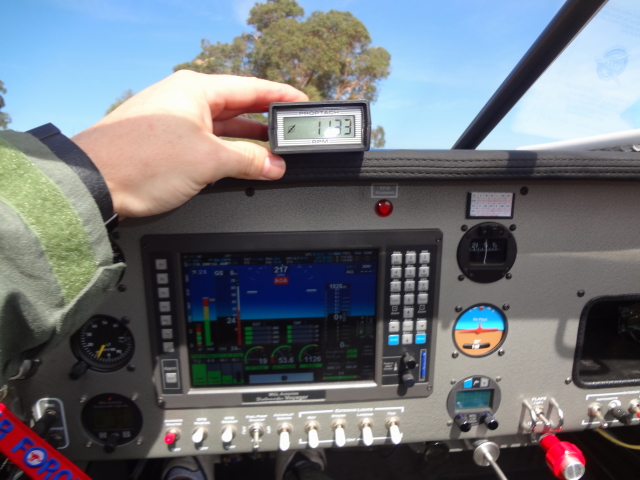
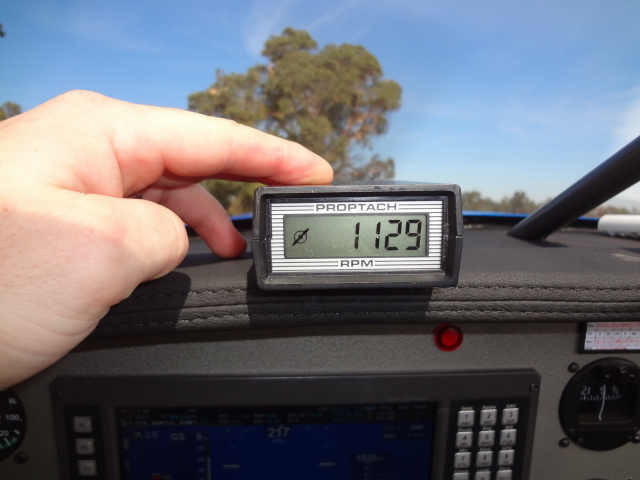
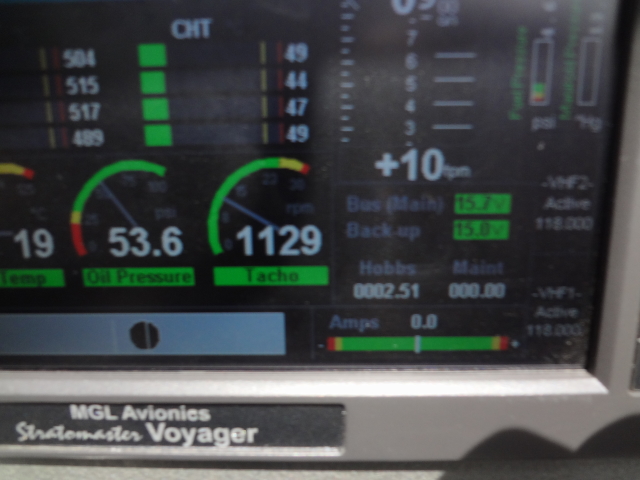
Next I went for a flight with all the fairings installed and wow, as I suspected I picked up another 15 knots airspeed and the prop easily wound up to 2600 RPM at full throttle, With calculations of manifold pressure and RPM I worked out that I am getting 95% of the engines power at low altitude full throttle cruise operations.
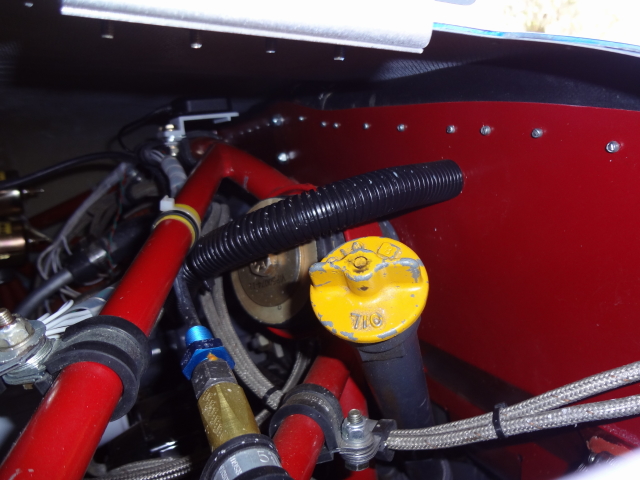
Alternator rubbing on cowling
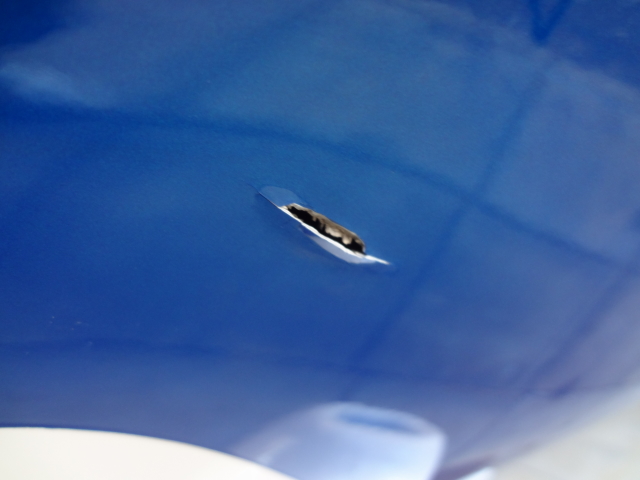
With the extra 15 knots airspeed means that there is more air pressure on the fron cowl. So when I landed I realized that the 20mm gap between the cowl and the alternator pulley is obviously not enough 🙂 I will have to get a shorter belt for more clearance and fixed up this little cosmetic slice.
Fuel filter
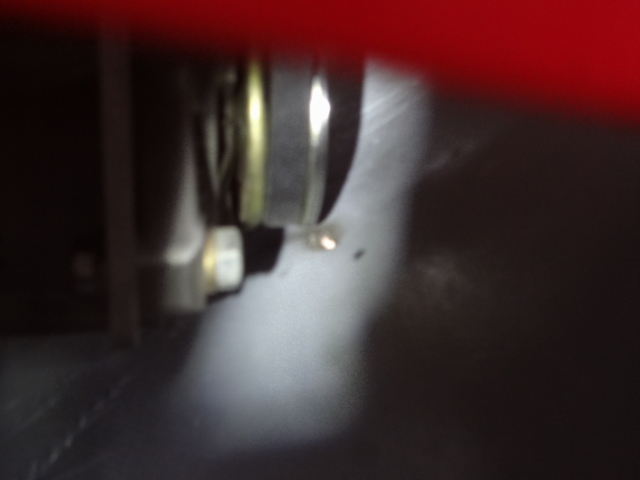
I changed the little inline filters to a bigger size (from 80 to 150) I was seeing alot of little bits coming out of the drain samples and was getting paranoid about my filters blocking up so I thought it would be a good time to check them and also put larger (higher flow) mesh filter in place. this is what I found stuck in them already.
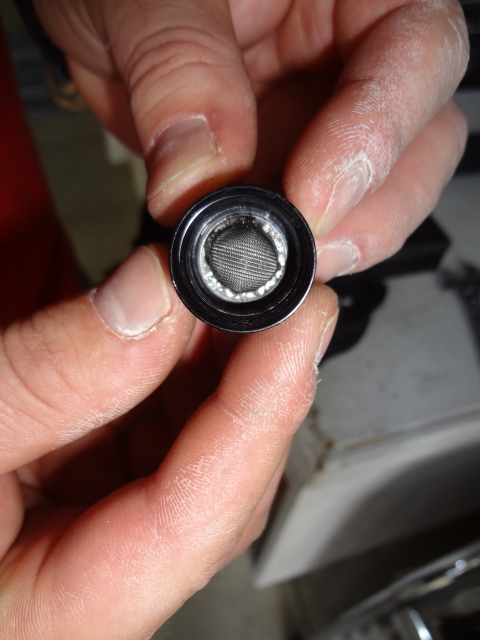
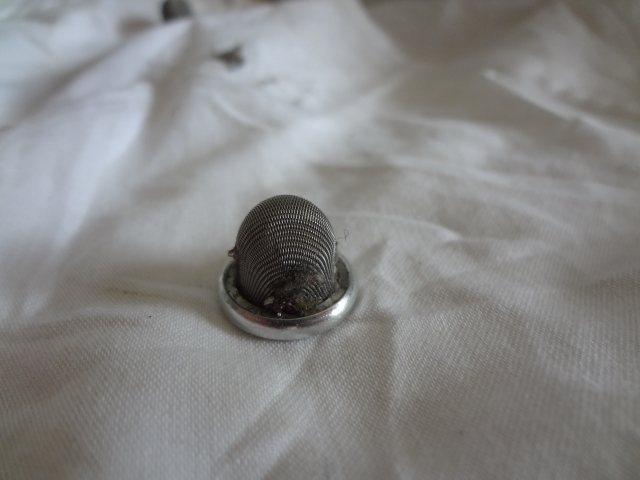
Left is the old 80 micron and right is the 150 micron

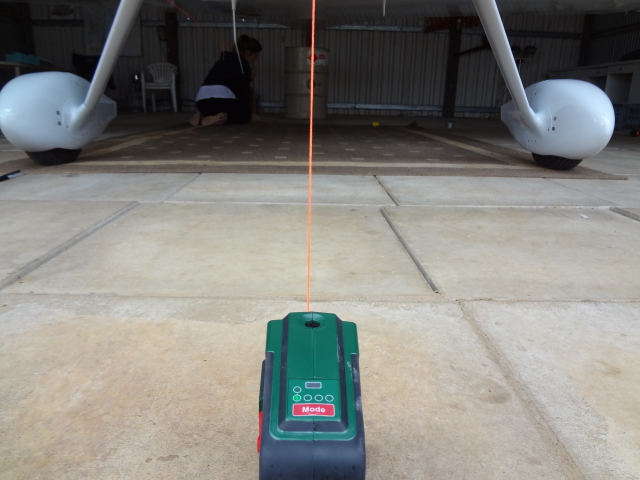
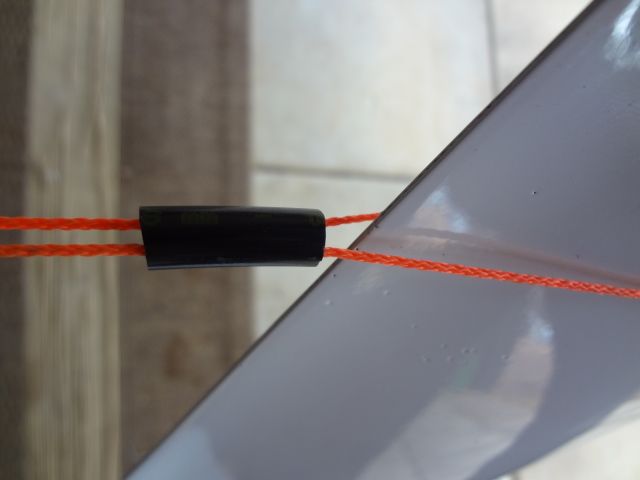
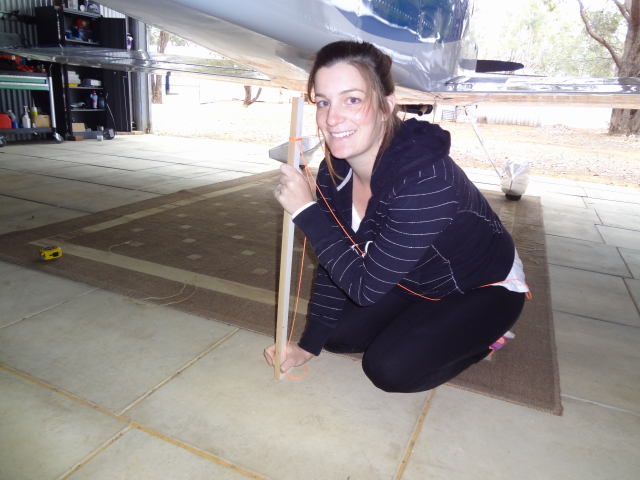
Align the gearleg fairings
I was getting a noticeable right banking roll when at high speed, only thing that changed was that I now have the gear leg fairings installed. So my lovely wife Dee helped out realigning them to the center line of the fuselage.
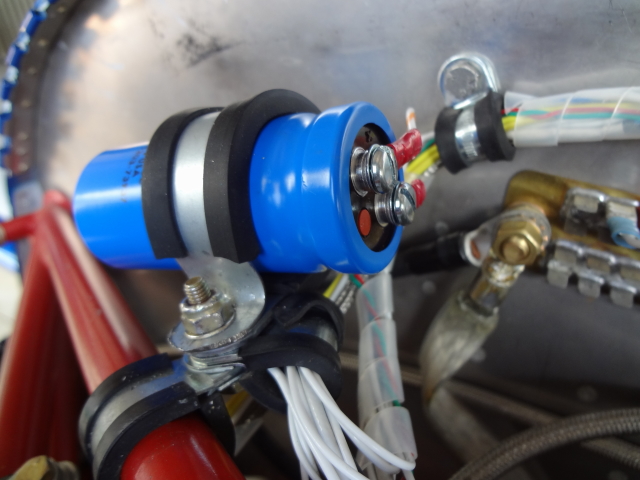
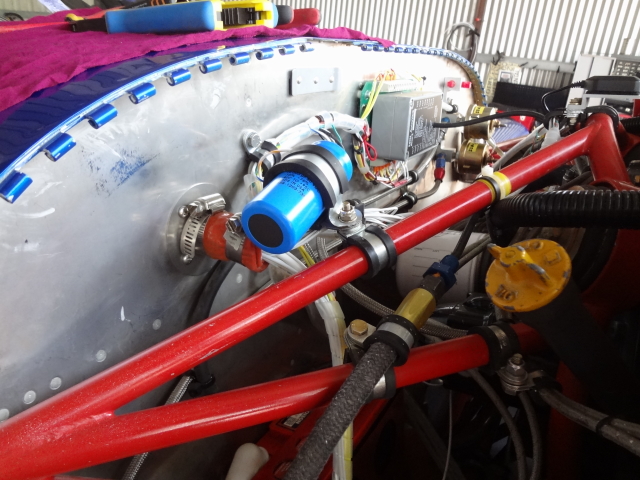
Noise filter
I was getting a huge amount of ignition noise through my radio. After faultfinding for a couple of days I changed a huge amount of settings in my V6 radio and also temporarily installed a noise filter. Not sure which one did the job but it is now crystal clear audio and intercom. Passenger mic has a stuck PTT button so that’s one more thing to be looked at next time I am up at the hangar.
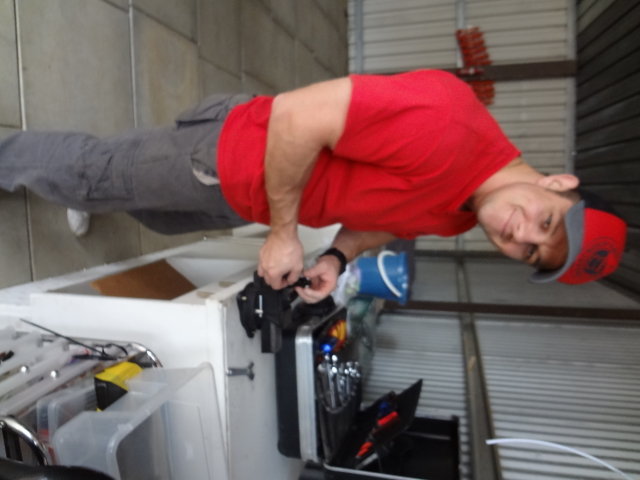
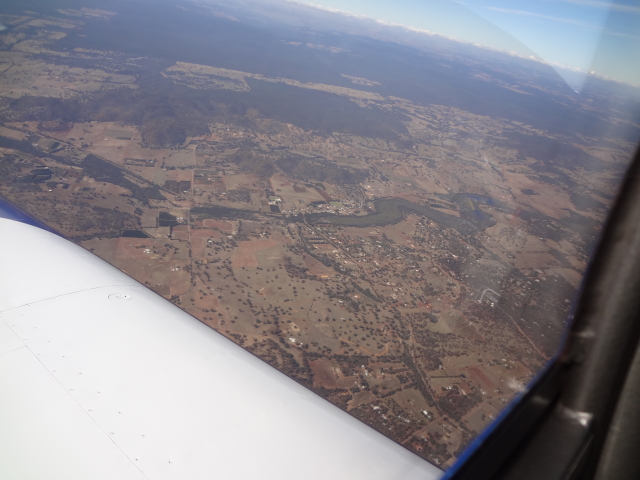
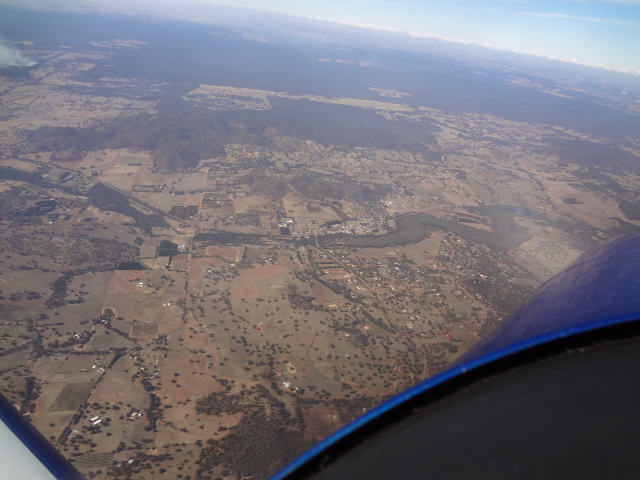
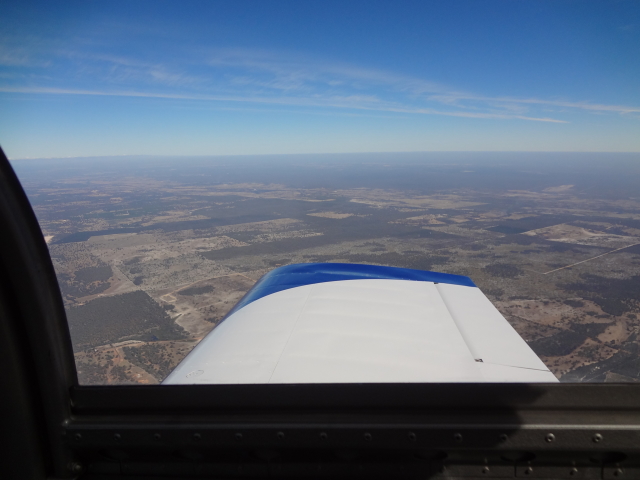
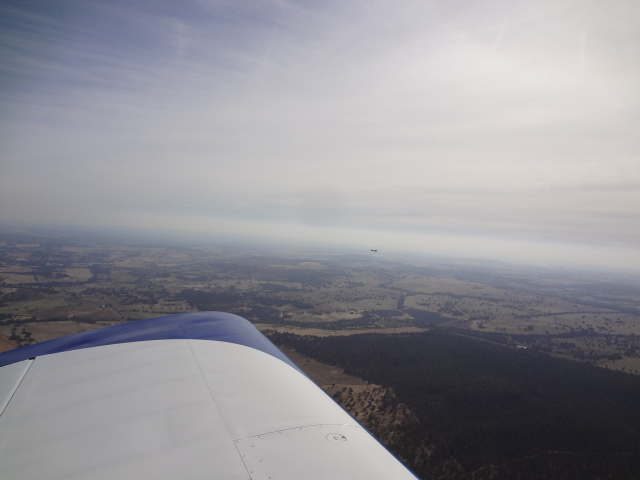
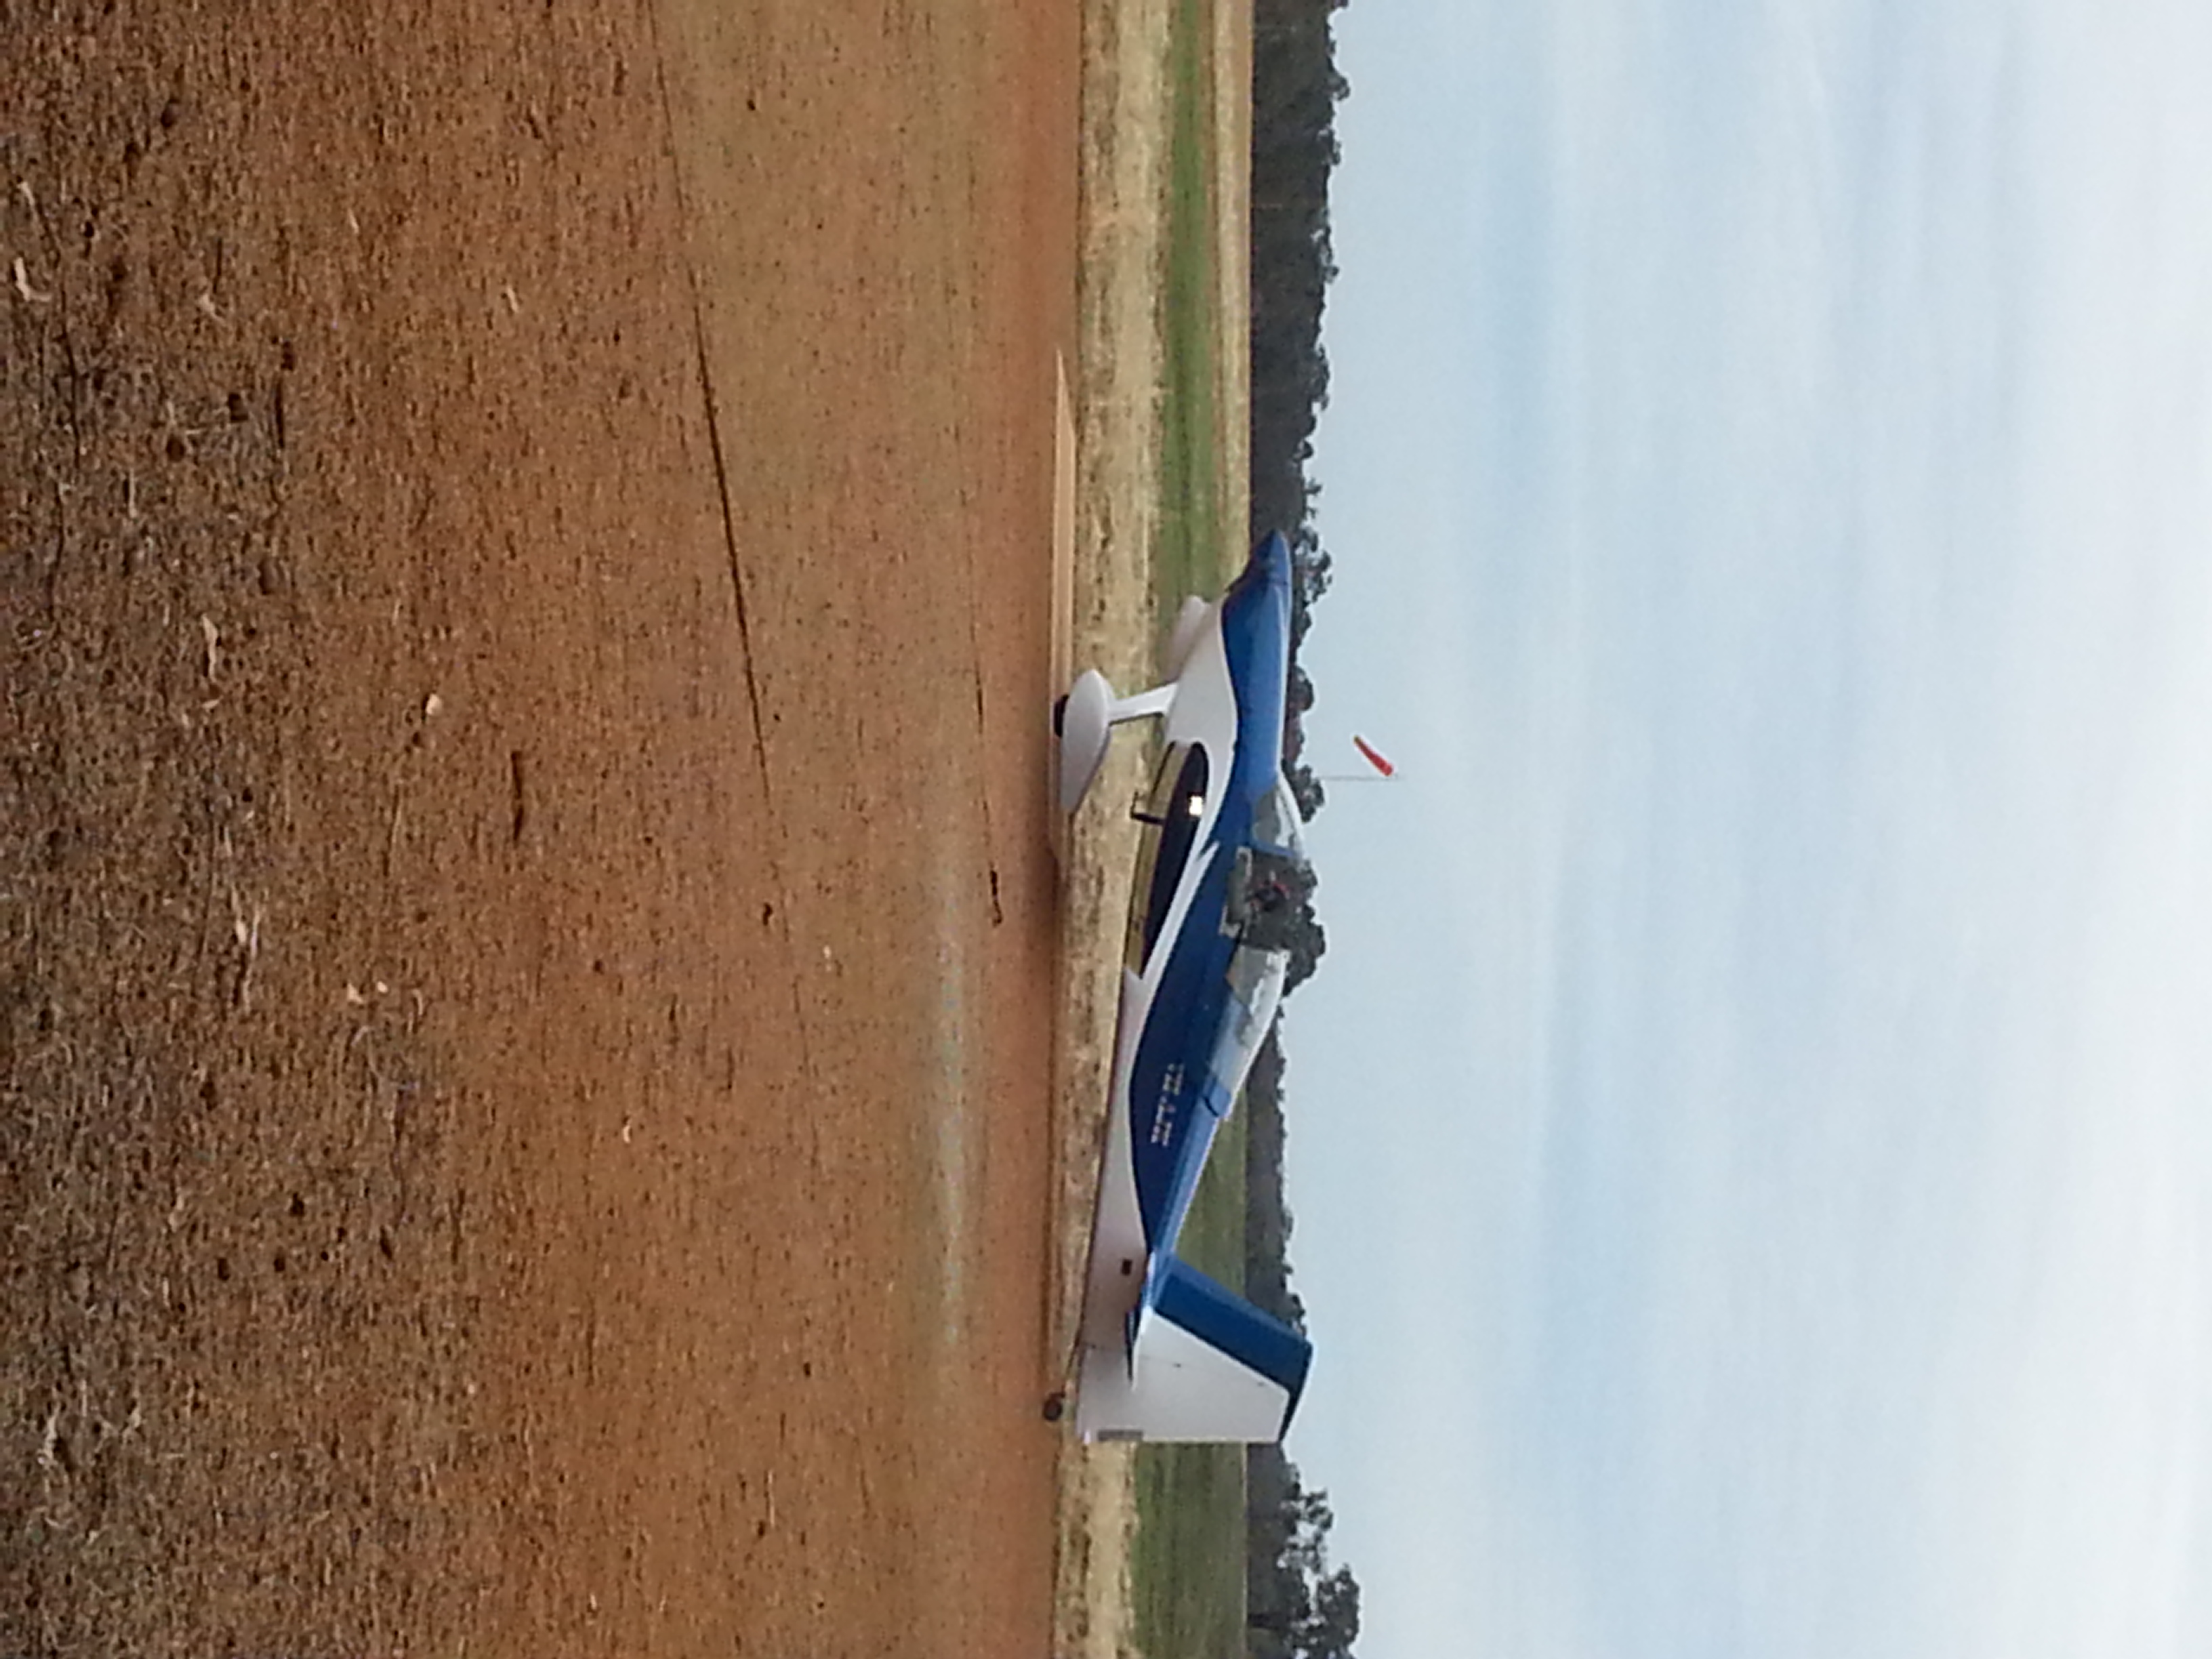
Just a couple of photos over the last 3 weeks
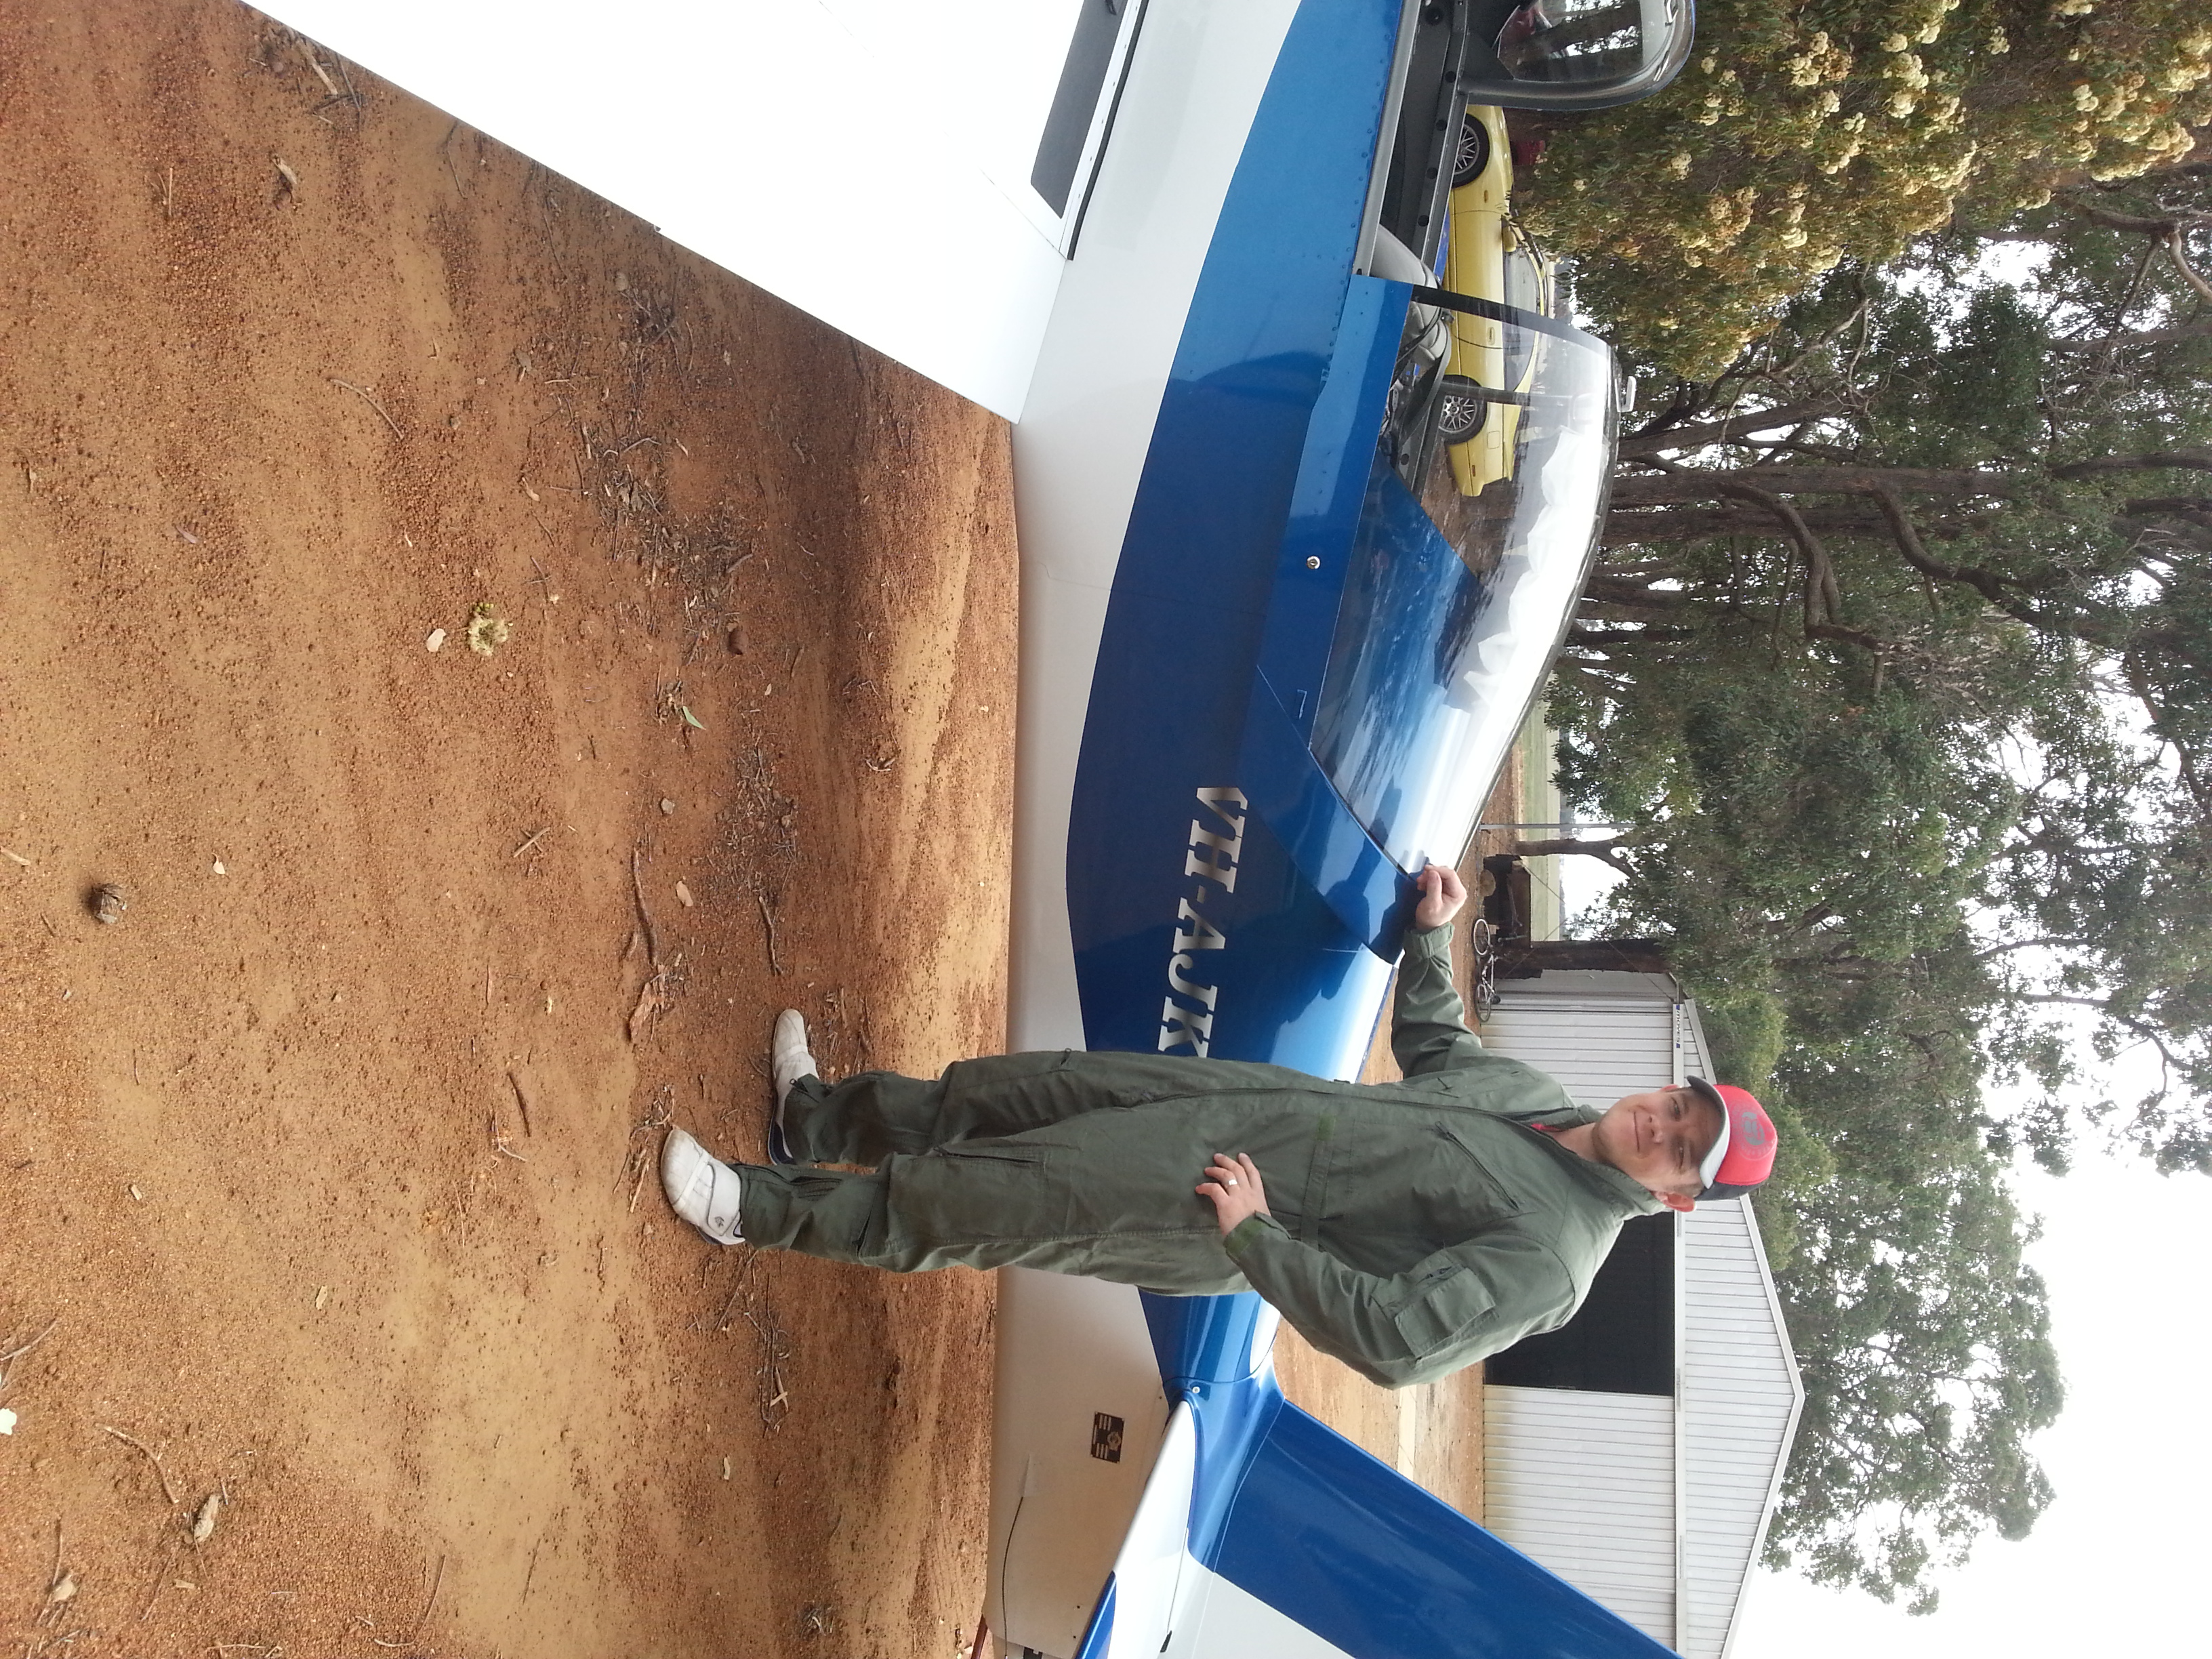
Full nomex fireproof flight suit


Leave a comment