The cowling on a RV6 is a huge job which takes a lot of time and work so I decided to give it its own category.The cowling basically consists of two fibreglass shells , a top cowl and a bottom cowl. They get joined together and attached to the fuselage side walls. The original plans use piano hinges to make theses joins, the advantage is it’s a really sleek look as you don’t see any fasteners once completed but on the other hand they are not as easy to remove as fasteners, hey also spread the load evenly across the join. I have decided to go with the hinges as I really like the look if it.
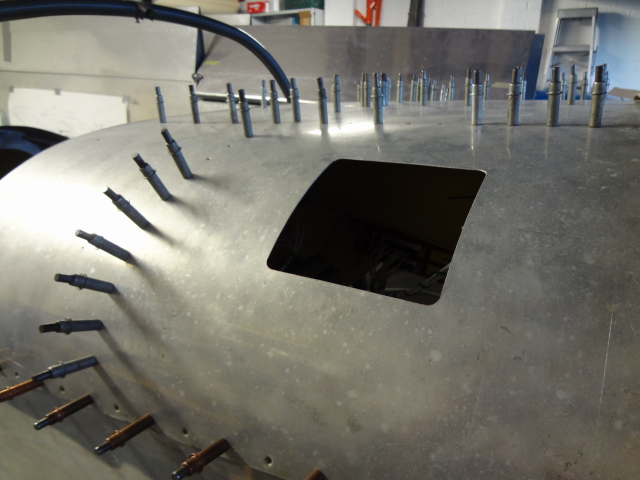
To get started the top skin needed to be temporary installed with cleco clamps.
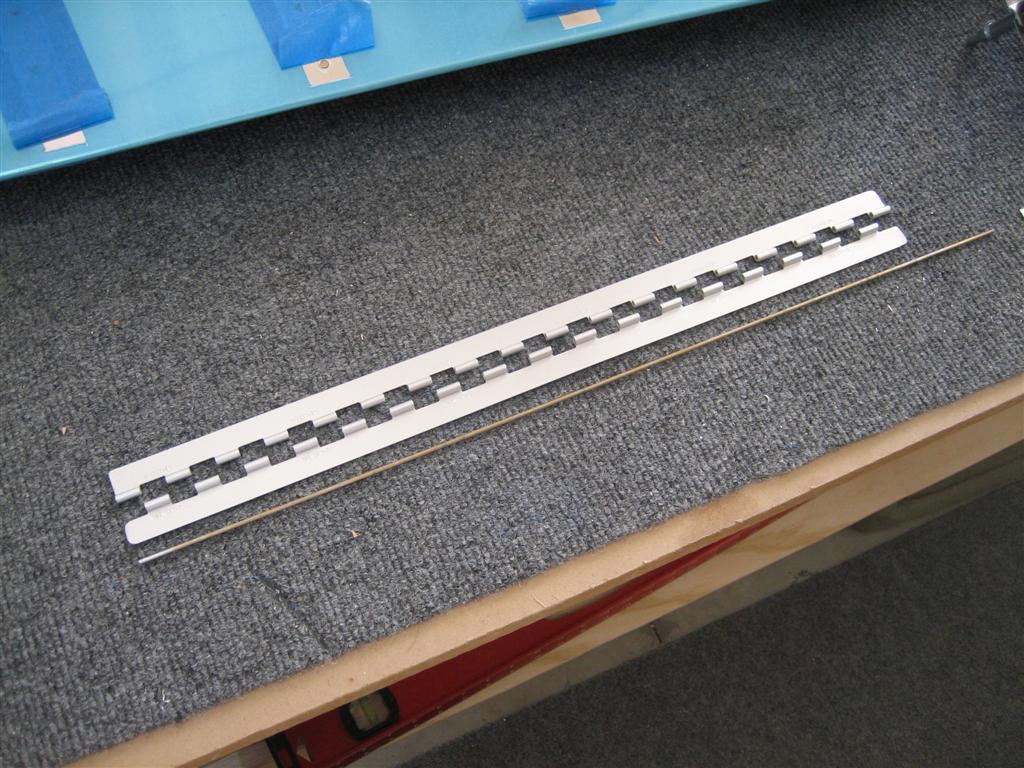
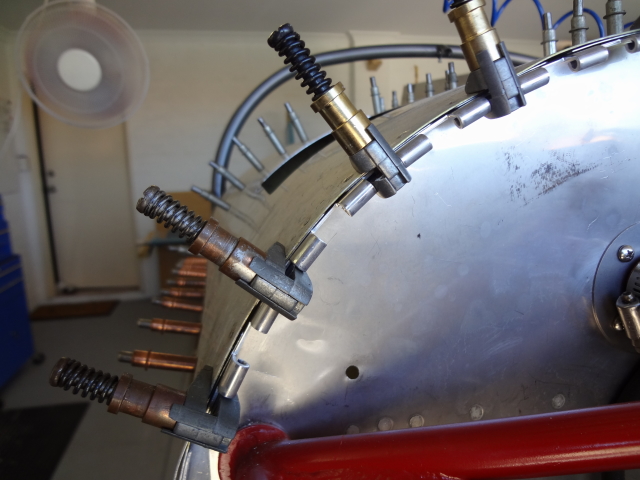
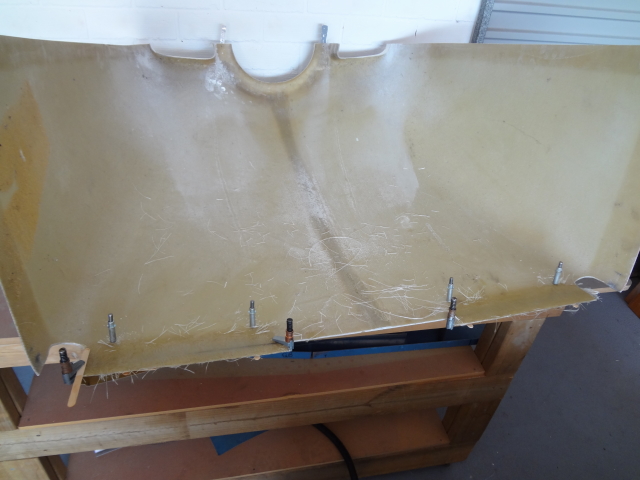
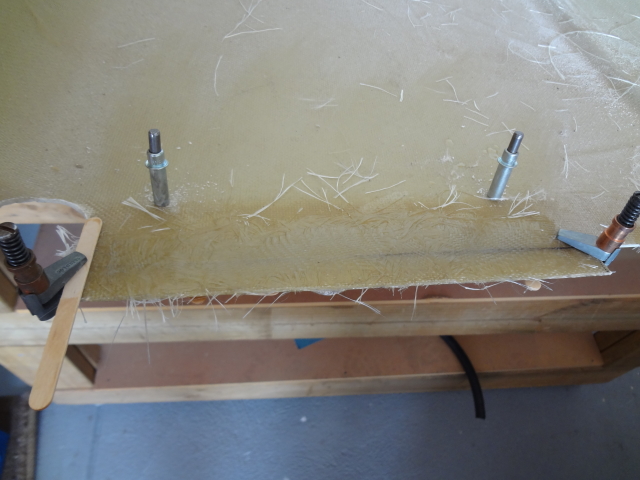
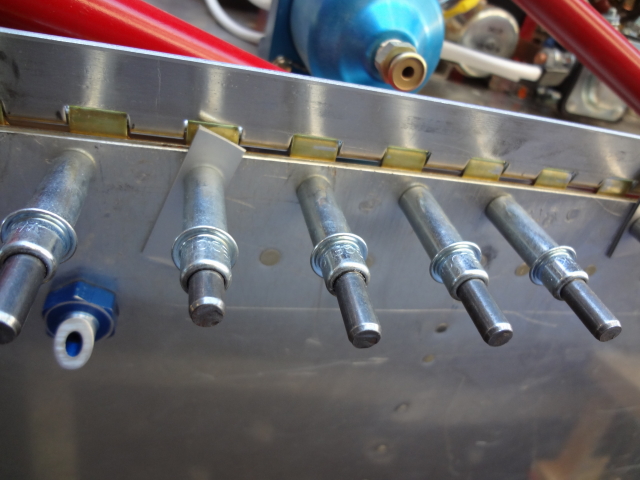
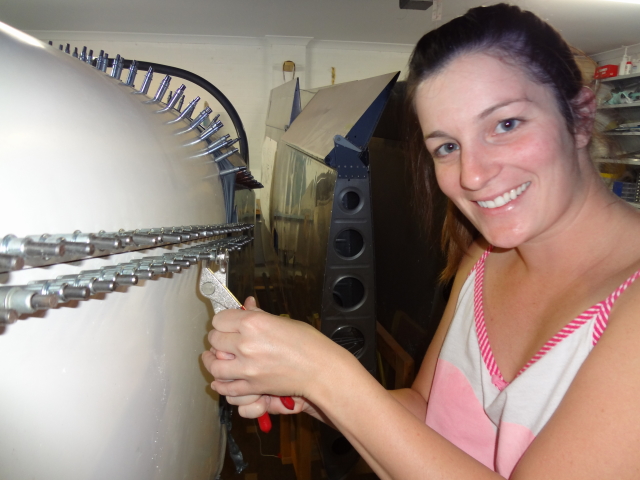
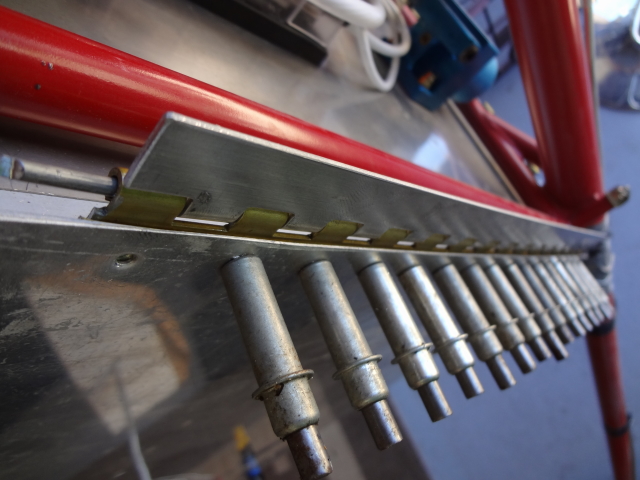
I cut the top cowl’s set of hinges that get drilled and attached to the top of the firewall. I used these cleco alligator clamps to initially hold the hinges in the correct location whilst they get drilled. I need to cut additional strips of 065 ali to space the hinge slightly down so when the cowling sits on top the fuselage skin is level with the cowling.


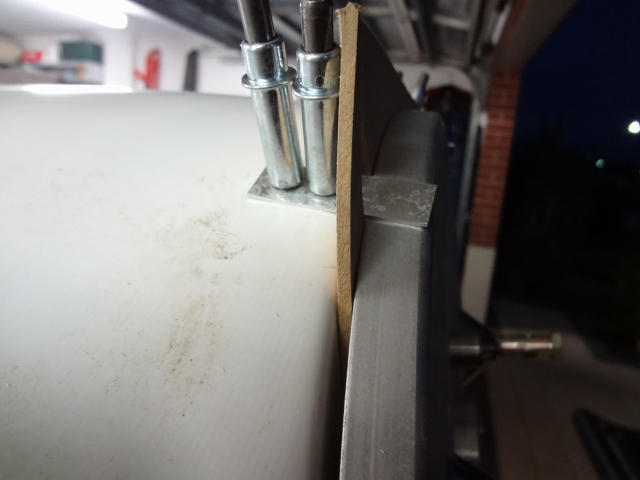
With any job you undertake there is always some sort of datum point to work from, with the cowling the datum is the spinner plate on the front of the engine. The spacing between the spinner back plate and cowling should be between 3/8 and 1/4. And the top of the cowling should sit 3/8 above the spinner plate.
I made 3/8 spacers to put in between the spinner and cowling. I started with 3/8 as i can work back and still be within the tolerance of 1/4. For the top I drilled and clecoed two ali strips to hold the cowl above the spinner.
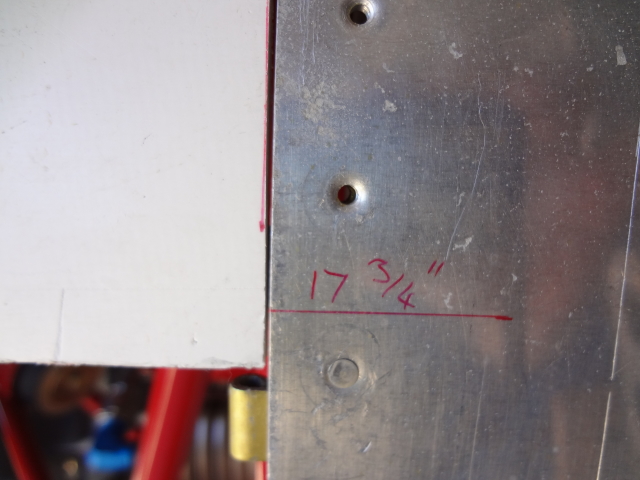
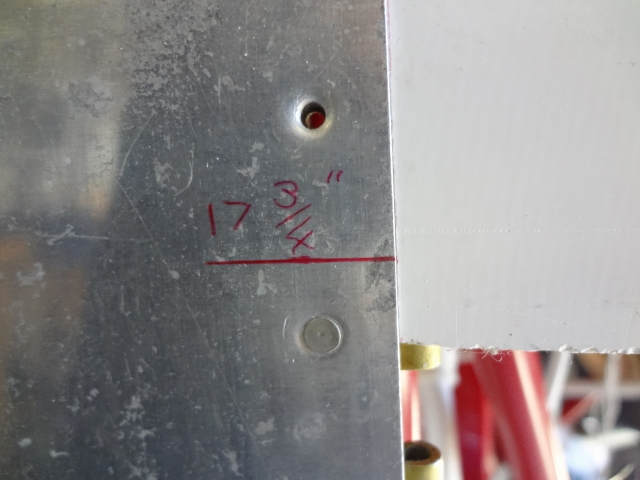
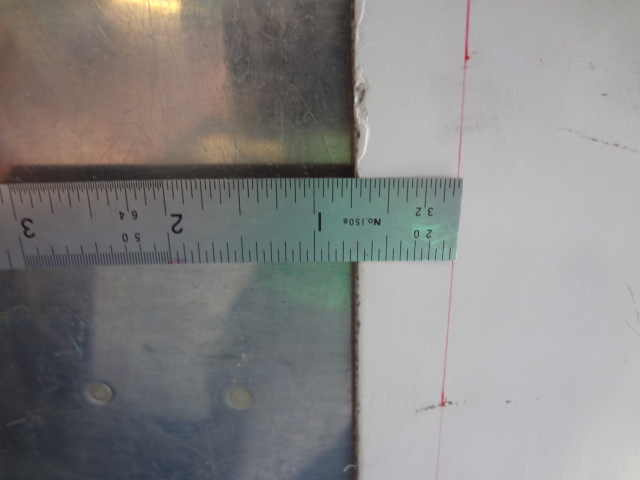
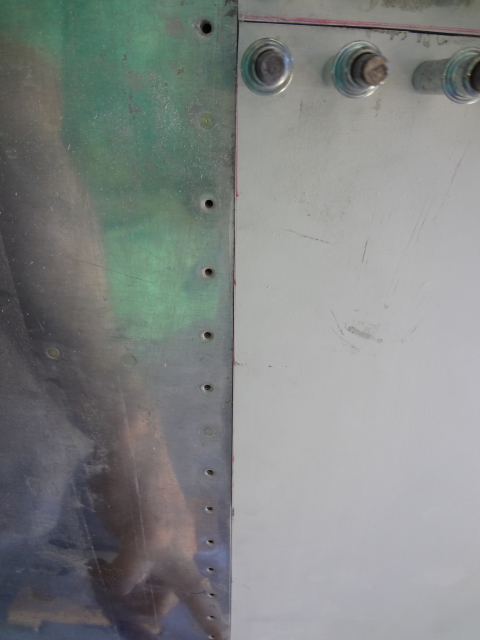
The cowling comes oversize by approx 50mm and needs to be trimmed to size. Now that the gap at the front is set I could mark the back edge and establish the cut line. I made a 50mm mark from the edge of the firewall onto the skin, then placed the cowling on top. Because it is oversize it sits on top of the skin and your unable to see where to cut. This is where my 50mm line came in as I could measure back and get the line i needed.
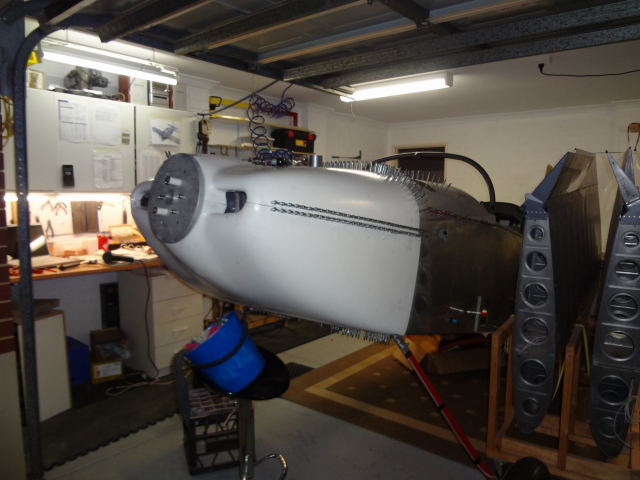
Here it is after my first initial cut, I cut it slightly oversize originally and then sanded it down to get a proper fit. I must just add that this takes a very long time as you have to remove the cowling sand it down put it back on, set the gap at front and then mark the next area to sand….and so on
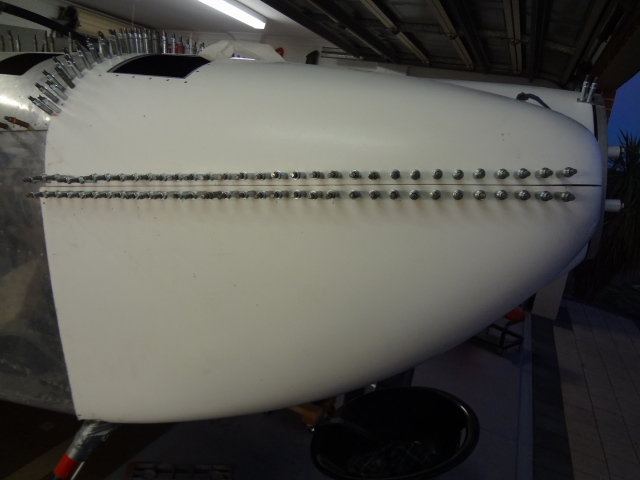
Here is another view, my aim is to get a credit card fitting gap all the way around to allow for paint later on. This is how to cowling is sitting on top now.

The sides of the cowling is still oversize and wont be cut untill the bottom is fitted. I was just interested to see how much it overlapped the distance given in the drawings, happy to see both sides have got plenty of overhang to work with.
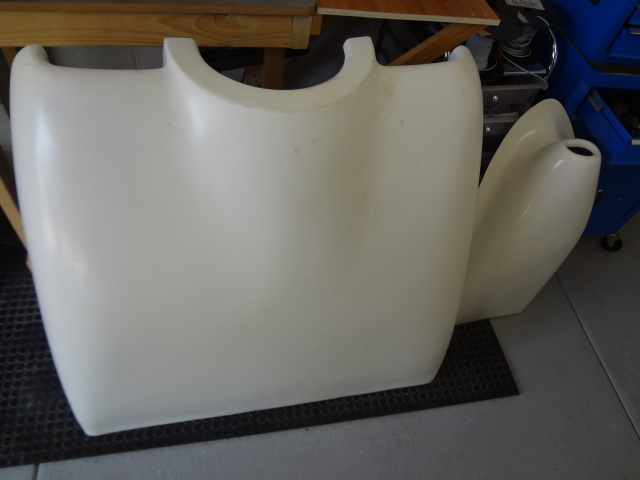
Next I got the bottom cowling out of storage.
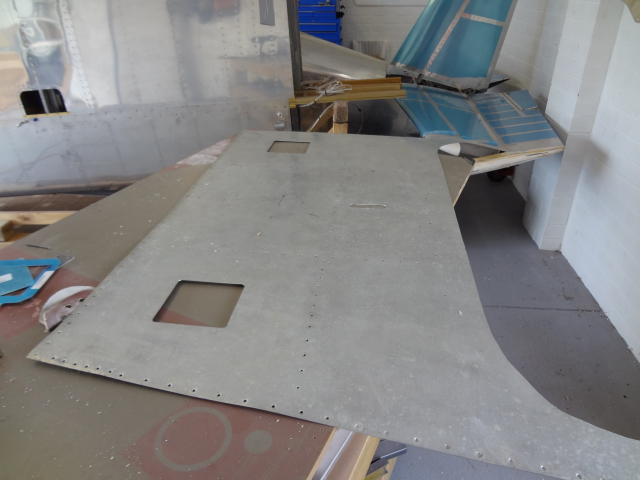
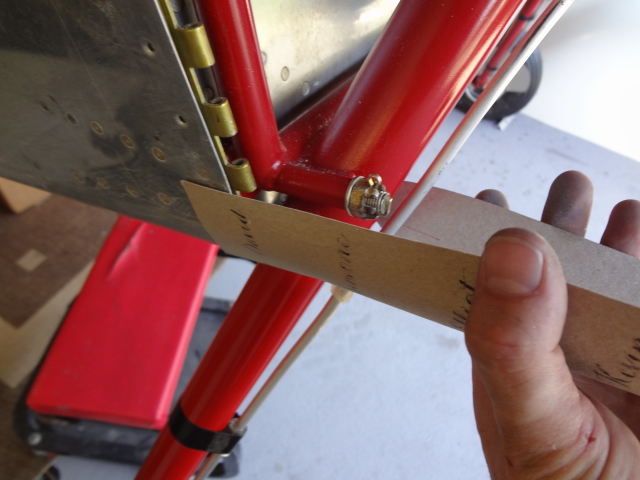
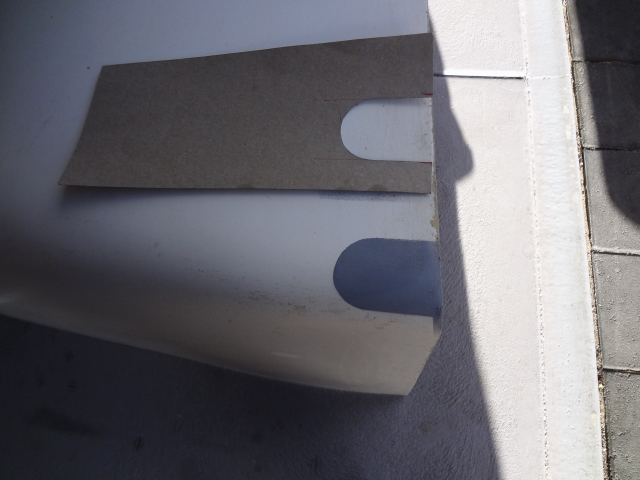
Before you can even attempt to fit the bottom cowl two slots need to be cut to make way for the landing gear rods. I used some cardboard to do some trial and error cutting untill I was happy with the clearance. I then used it to spray paint the areas of the cowling I wanted to remove.
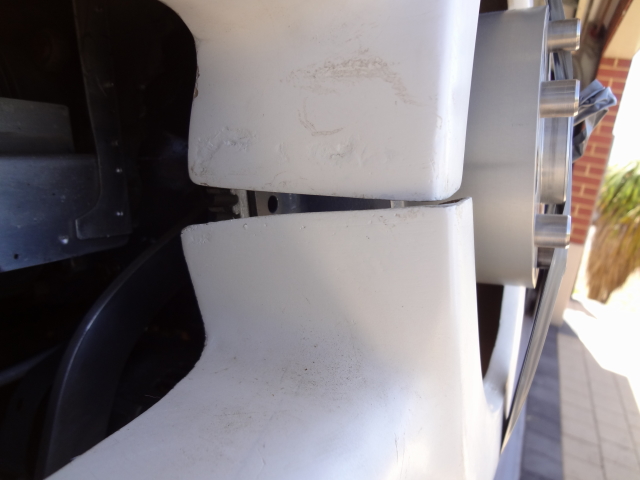
Untill now the cowling has been pretty straight forward and I was thinking to myself I wonder what all the fuss is about on the forums……. but once i started getting this bottom cowl in place I saw the huge amount of work that will be needed to get this looking like it should.
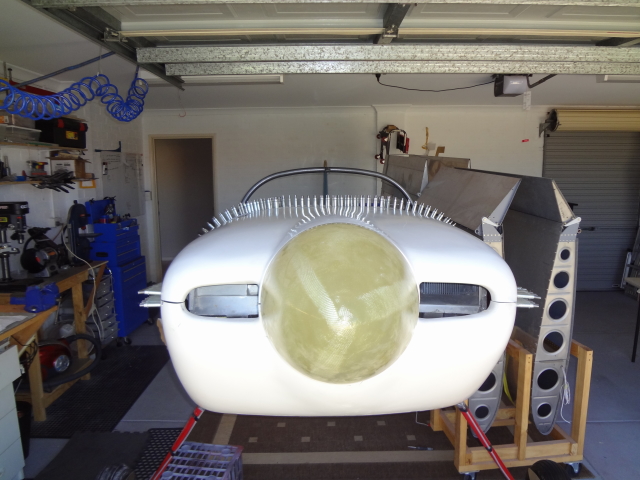
For starters the front section is way out of shape and does not match the top at all.
This is where i notice the manual says to get a 13 inch circle when putting the two cowls together and to reshape the two halves to fit each other before starting the cowl fitment….
I used the heatgun and started what ended up being a very long and tedious job of reshaping the two cowl halves. Lots of sanding and fitting and sanding and fitting to get it looking slightly better.
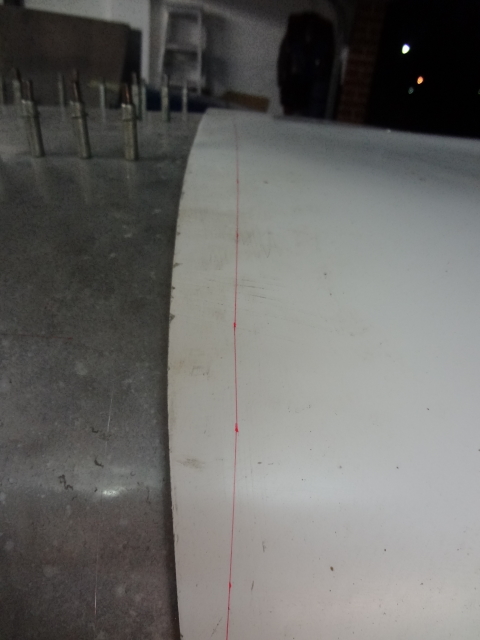
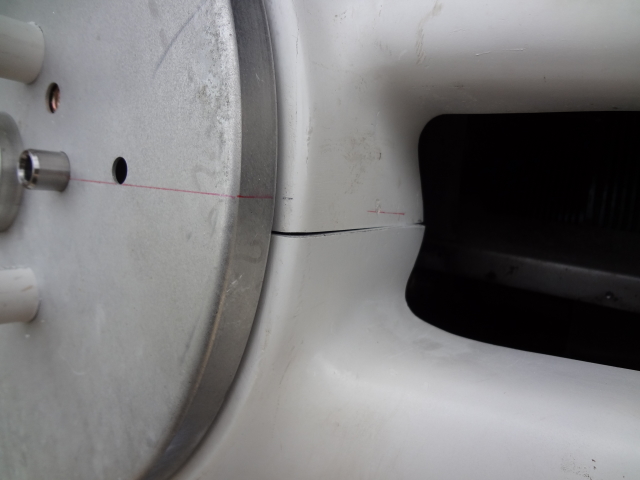
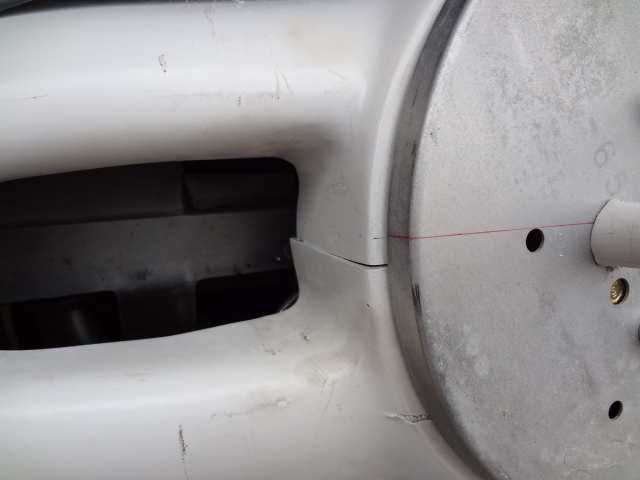
Here is my reference line on the spinner, I needed to work both cowls back to get them to meet at this mark.
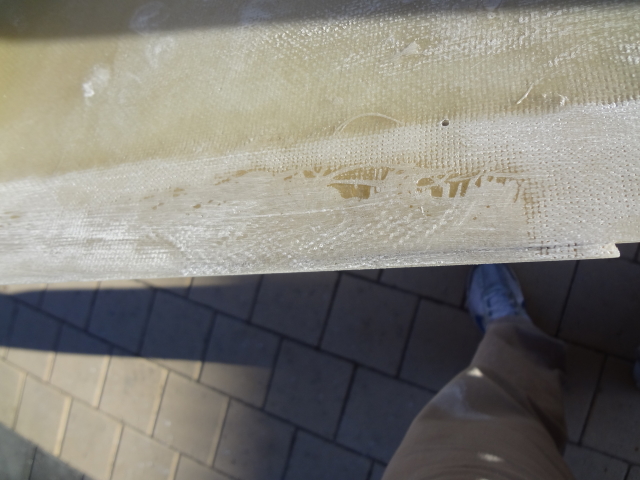
Unfortunatley I went ahead and trimmed the very bottom of the bottom cowl before i started reshaping the front section which was silly as now that the fit it good at the front my gap at the bottom is huge. I used the strips i cut off a few days earlier and mixed up fiberglass to reattach the strips.
After it has cured I remarked the bottom cutline and trimmed it to size. You can see how much I have cut off too much on the first go!
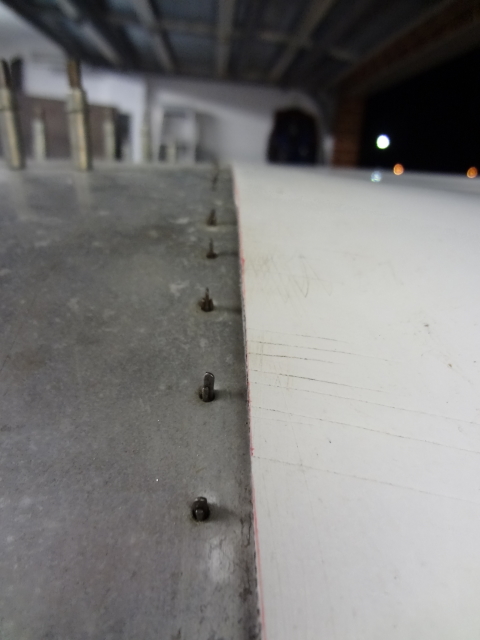
The bottom hinges could now be attached and the cowling drilled to it. Im fairly happy with the gap at the bottom.
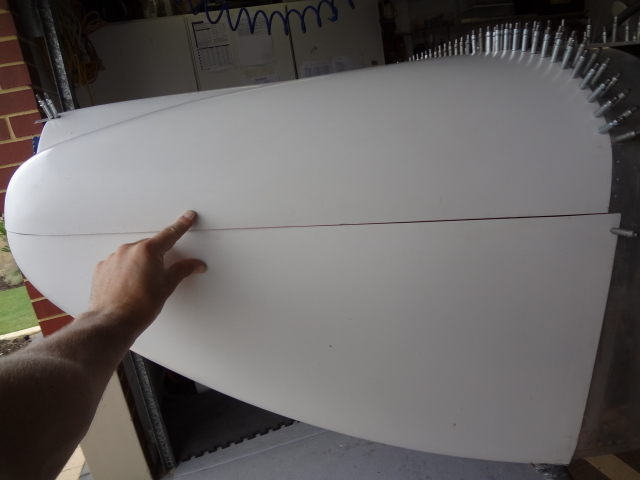
Now that the bottom is fixed in position and im fairly happy with the alignment at the front, I could start working the sides. I drew a line from the centre front to the mark on both sides of the fuselage i marked earlier. This gives me a line to work to. Using a long sanding block I was able to get both top and bottom edges pretty straight and they started looking pretty good.

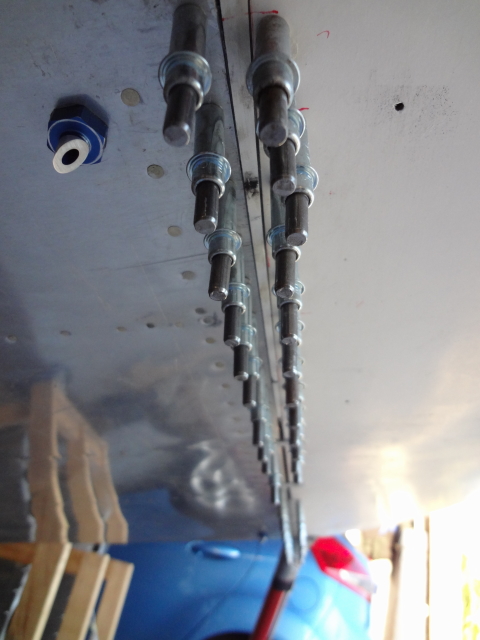
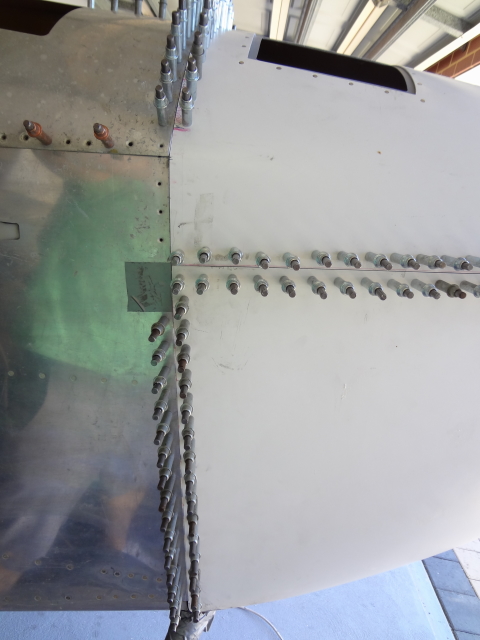
I removed both the cowls and cut and fitted the side hinges. I drilled them going slightly higher at the back as specified by the plans.

Both cowl halves get fitted back onto the fuselage in order to drill the other half of the hinge. I needed to get Dee to come help me drill whilst holding things in place and applying back pressure on the hinge.
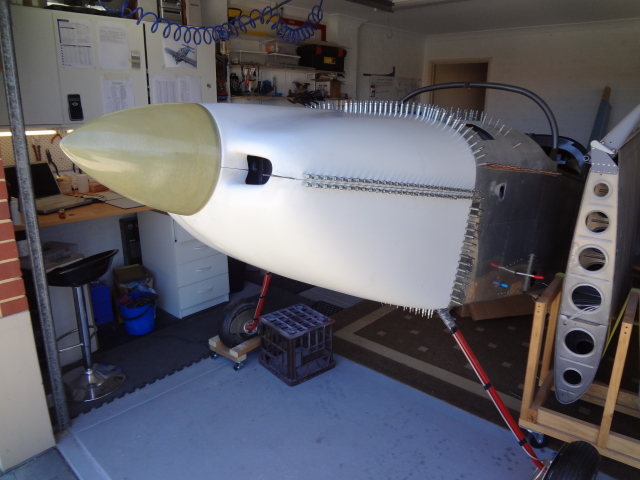
This cowling is really starting to take shape now, only the two bottom side edges remaining before attaching the hinges for good.
Plenty of overlap on the sides to work with.
The good thing about the bottom sides is that i was able to trim them whilst the cowling was fitted on the fuselage, this saves alot of time by not having to remove and refit it after you sand down the edges to get a perfect fit.
After a good amount of sanding
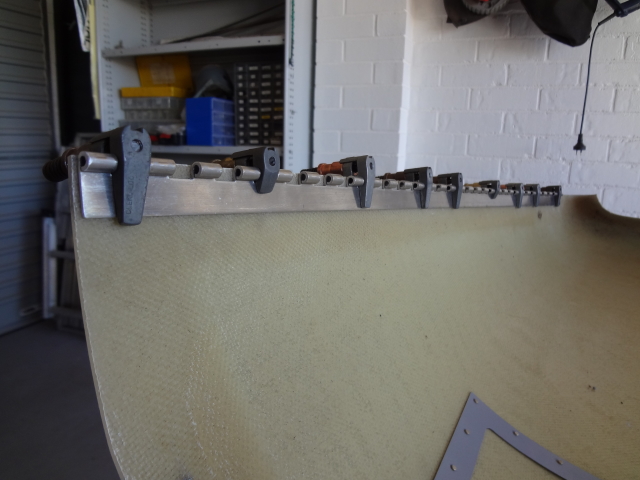
Cowling was removed again and side hinges were cut and fitted.
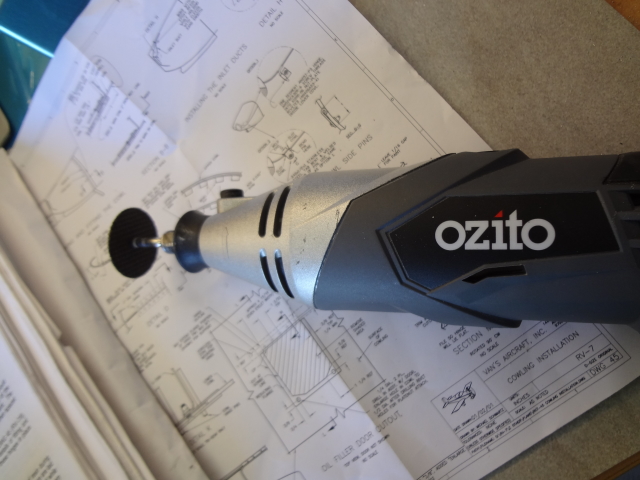
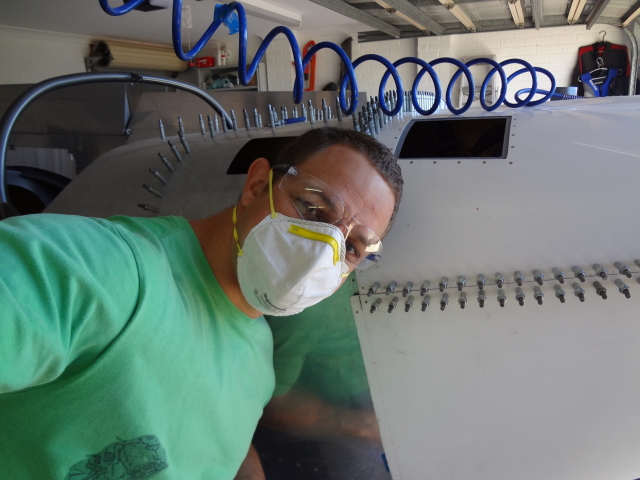
Cowling back on and both side hinges drilled. My weapon of choise for getting fairly precise cutting lines is the rotary tool with a small abrasive cutting disc. safety glasses and dust masks are essential 🙂
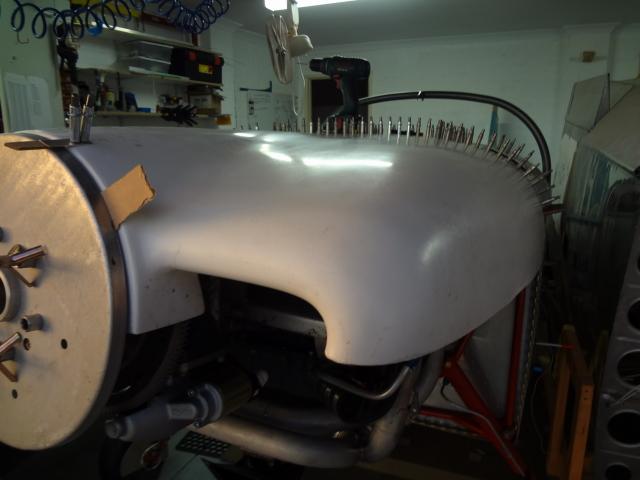
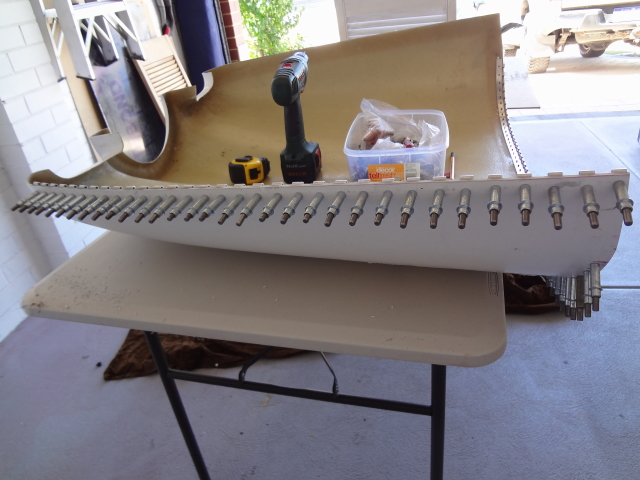
All the hinges are now attached and my next step will be to permanently bond and rivet them in place. Just for kick I had to go get the spinner and put it on to see what it looks like.
Up to this stage I must have removed the cowling and re installed it over 60 times. I have been working on this for about a month, doing a little bit every day, sanding, ordering parts, fitting, scratching my head and so on. But it does come together and it is really rewarding once it starts taking shape.

Feb 04, 2013 @ 09:04:27
Wow what a big job. Fibreglass is not my favourite material to work with. Very good result and a job well done.
Feb 04, 2013 @ 10:47:48
Thanks 🙂